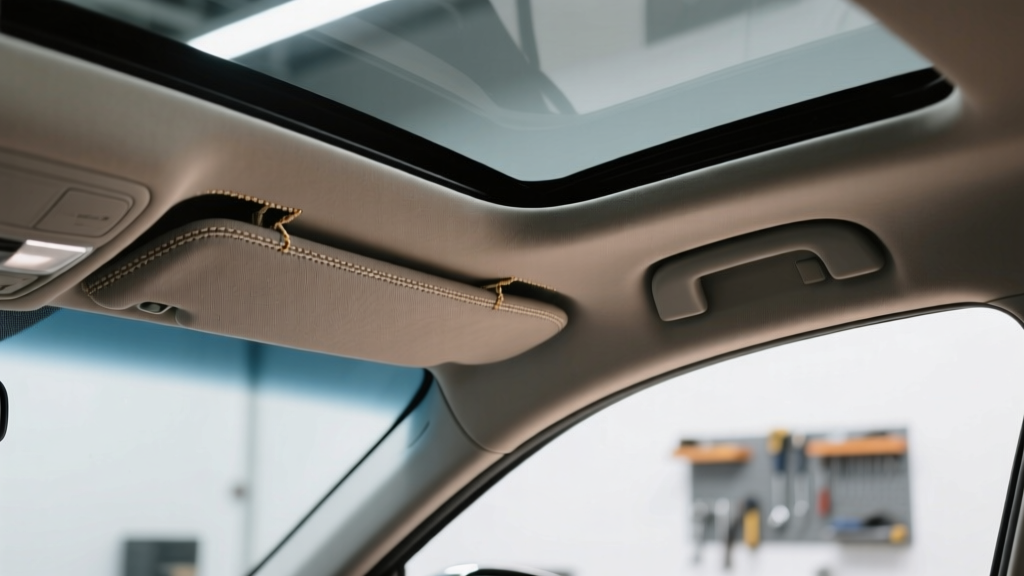
Headliner Replacement: Step-by-Step Installation (2026)
By the time you reach Part 2 of a headliner replacement, you?ve already done the ?big? work: removing trim, dropping the headliner board, scraping the old foam, and prepping a clean surface. Now comes the part that separates a headliner that looks factory-fresh from one that sags, wrinkles, or fails again in a few hot summers.
This stage matters because headliner fabric is unforgiving. The wrong adhesive choice, rushed bonding, or uneven tension can lead to bubbles, visible seams, or loose edges around the sunroof and dome light. The good news: with a clear process and a few pro-level techniques, you can achieve a clean, OEM-style result without specialty upholstery machines.
Part 2 focuses on installation and finishing?gluing the new headliner material, working around curves and cutouts, reinstalling the board, and putting your interior back together without broken clips or mystery rattles.
Tools and Materials Checklist (Installation + Reassembly)
Before you open the adhesive can, confirm you have what you need. Stopping mid-glue because you can?t find a razor blade is how wrinkles happen.
- High-temp headliner adhesive (spray or brush-on)
- New headliner fabric with foam backing (typically 1/8" foam)
- New clips for pillars/overhead console (recommended)
- Sharp blades (new utility knife blades + small scissors)
- Plastic trim tools (to avoid marring panels)
- Roller or squeegee (foam roller, wallpaper roller, or clean microfiber-wrapped block)
- Masking tape and marker for alignment marks
- Vacuum and tack cloth (to keep debris out of the adhesive)
- Nitrile gloves and respirator (spray adhesive fumes)
Workspace Tip
Lay the headliner board on a clean table or two sawhorses. Support it evenly so it doesn?t flex. Flexing while the adhesive sets is a reliable way to create permanent ripples.
Choosing the Right Adhesive (What Actually Works Long-Term)
If your old headliner failed due to heat, the adhesive choice is a big deal. Interior roof temperatures can exceed 140�F (60�C) in sunny climates. Standard craft spray glue won?t survive that.
Recommended Adhesive Types
- High-temperature headliner spray adhesive: Best for most DIY installs. Look for ?headliner? or ?high heat? on the label.
- Landau top & trim adhesive: Higher strength and heat resistance; often used by upholstery shops. Great for sunroof areas and complex curves.
- Brush-on contact adhesive: Strong, but easier to over-apply and can bleed through thin fabric if you?re heavy-handed.
Product Comparison (Real-World Pros/Cons)
- 3M Headliner & Fabric Adhesive (High Strength): Widely available and user-friendly. Great for normal roof panels; may struggle in extreme heat if applied too lightly.
- 3M Super 77: Convenient, but generally not ideal for headliners in hot climates. Works for light-duty fabric projects, not long-term roof bonding.
- 3M 90 / High-Strength Trim Adhesives: Stronger bond; can be more aggressive and less forgiving. Use careful, even coats to avoid bleed-through.
- Professional landau adhesive (various brands): Excellent heat resistance; best choice if your vehicle lives outside in hot sun. Often has stronger fumes and longer tack behavior?follow the product instructions closely.
Practical recommendation: If you live in Arizona, Texas, Florida, or anywhere your car bakes daily, step up to a high-temp headliner/trim adhesive or landau adhesive. It costs a bit more but saves you from doing the job twice.
Step-by-Step: Bonding the New Headliner Fabric to the Board
This is the heart of the installation. The method below is how many upholstery techs avoid wrinkles: bond from the center out, work in sections, and don?t rush the tack time.
Step 1: Dry Fit and Alignment Marks
- Lay the new headliner fabric over the board with extra material on all sides (2?4 inches is ideal).
- Center the fabric and smooth it lightly by hand.
- Add small alignment marks with masking tape (front center, rear center, and one mark on each side).
Tip: If the headliner has a visible ?nap? (directional texture), confirm the direction matches OEM?usually running front to back.
Step 2: Fold Back Half the Fabric
- Fold the fabric back over itself lengthwise, exposing half the board.
- Keep the fold clean and controlled so the foam backing doesn?t crease.
Step 3: Apply Adhesive in Even Coats
- Spray adhesive on the exposed half of the board using overlapping passes.
- Spray adhesive on the foam backing of the corresponding half of the fabric (if your adhesive calls for both surfaces?many do).
- Let it flash/tack per the label (often 30 seconds to a few minutes).
- Too wet: fabric can slide, soak, or bleed through.
- Too dry: bond is weak and may release at edges.
Step 4: Lay Fabric from Center Out
- Start at the centerline and gently lay the fabric down.
- Use a roller or your palm to press outward in smooth strokes.
- Work toward the edges, keeping light tension but not stretching the foam excessively.
Real-world example: Around the dome light area, many DIYers push too hard and ?dish? the foam. Instead, use multiple light passes with the roller to seat it without deforming the backing.
Step 5: Repeat for the Other Half
- Fold the unglued half back.
- Apply adhesive to the board and fabric backing.
- Allow proper tack time.
- Lay down from center out and roll smooth.
Step 6: Wrap and Bond the Edges
- Flip the board carefully.
- Apply adhesive along the perimeter and on the fabric edge.
- Wrap the fabric over the edge and press firmly.
Tip for tight curves: Make small relief cuts in the excess fabric (like little ?V? notches) so it wraps without bunching. Keep cuts shallow and away from visible areas.
Cutouts: Dome Lights, Grab Handles, Visors, and Sunroof Openings
Cutouts are where headliners look DIY if you rush. The clean approach is to cut undersized first, then trim gradually.
Step-by-Step: Clean Cutout Method
- Find the opening: Feel for the hole from the back side or use the original board as reference.
- Make a small X cut: Start at the center of the opening with a sharp blade.
- Trim outward gradually: Cut to within about 1/2 inch of the edge first.
- Glue and wrap: Apply adhesive inside the opening lip and wrap the fabric tabs into the hole.
- Final trim: After it?s seated, trim any excess so hardware sits flush.
Sunroof-Specific Tips
- Expect more tension around the sunroof opening; use higher-strength trim adhesive in this area.
- Do relief cuts more frequently so the fabric lays flat around tight corners.
- Confirm the sunroof shade slides freely before fully reinstalling trim.
Drying and Cure Time: Don?t Reinstall Too Soon
Many adhesives grab quickly but still need time to build heat resistance. If you reinstall immediately and the board flexes while you?re wrestling it into the car, you can create wrinkles that never fully relax.
- Minimum handling time: Follow the adhesive label; often 30?60 minutes before heavy handling.
- Full cure: Commonly 12?24 hours for maximum strength.
Practical tip: If possible, let the headliner cure overnight indoors where temperature and humidity are stable.
Reinstalling the Headliner Board (Without Creases or Broken Trim)
This step varies by vehicle, but the strategy is consistent: protect the corners, avoid bending the board, and reinstall trim in the correct order.
Step-by-Step Reinstallation
- Prep the cabin: Recline seats and clear the center console area.
- Bring the board in carefully: Use a helper if the board is large (SUVs, minivans, wagons).
- Position it loosely: Don?t force it into final alignment until it?s inside.
- Start with center supports: Install the overhead console/dome light bracket or center clips first to hold it up.
- Reinstall pillars and trim in reverse order: Typically C-pillar, B-pillar, A-pillar (varies by model).
- Install visors, grab handles, and hooks: These often ?clamp? the headliner and remove minor slack.
- Reconnect wiring: Dome lights, sunroof switch, microphones, antennas?test before final snap-in.
Pro Tip: Replace Clips While You?re There
Old pillar clips get brittle and cause rattles. A small clip assortment can save your sanity. If a pillar trim piece doesn?t sit flush, don?t force it?check clip alignment first.
Common Mistakes to Avoid (And How to Prevent Them)
- Using low-temp glue: It may look perfect for a month, then sag in summer. Choose high-temp headliner adhesive.
- Skipping full foam removal: Any remaining dusty foam prevents a solid bond. The board must be clean and stable.
- Spraying too much adhesive: Over-application can bleed through the fabric and create dark spots. Use light, even coats.
- Not waiting for tack time: Bonding while wet leads to sliding and wrinkles.
- Stretching the foam-backed fabric: Over-tension can cause thin spots and texture distortion.
- Cutting holes too large: Always start small; you can trim more, but you can?t add fabric back.
- Reinstalling before curing: Handling and flexing too early can ?lock in? ripples.
Practical Finishing Checks (Factory-Look Checklist)
Before you call it done, run through these quick checks:
- Surface is smooth in direct light (use a flashlight at a shallow angle to reveal waves).
- Edges are fully bonded and not lifting at corners.
- All cutouts are clean, symmetrical, and hardware sits flush.
- Visors, handles, and pillars align without forcing.
- No leftover fasteners, missing clips, or unplugged connectors.
- Dome lights and sunroof functions tested before final trim snap-in.
FAQ: Headliner Replacement Installation
How long does a DIY headliner replacement last?
With quality foam-backed fabric and high-temperature adhesive, a DIY headliner can last many years?often comparable to OEM. Most premature failures come from low-temp adhesive, poor surface prep, or insufficient tack time.
Can I reuse the original headliner fabric?
Usually no. Once the foam backing deteriorates, the fabric won?t bond reliably and often has permanent stains or sag marks. New fabric with fresh foam backing is the best path to a smooth finish.
What if my headliner board is cracked or missing chunks?
Small cracks can be reinforced from the back with fiberglass mesh and resin or a suitable repair material before applying fabric. Missing corners may need rebuilding with rigid backing material. If the board is severely damaged, sourcing a replacement board from a salvage vehicle can be faster and cleaner.
Is spray adhesive always better than brush-on?
Not always, but spray adhesive is typically easier to apply evenly over large areas. Brush-on contact adhesive can be very strong, but it?s easier to create thick spots that show through lighter fabrics.
Why do I see bubbles or waves after everything dried?
Common causes include applying fabric while the adhesive was too wet, uneven adhesive coverage, flexing the board during installation, or trapping air while laying the fabric. Small issues sometimes improve with gentle re-rolling, but major bubbles usually require peeling back and re-bonding that section with fresh adhesive.
Do I need a special headliner fabric, or will any fabric work?
Use automotive headliner fabric with foam backing. Regular fabric won?t hide minor board imperfections, and it tends to telegraph adhesive patterns and surface flaws.
Conclusion: Your Next Steps for a Clean, Long-Lasting Install
To get a headliner replacement that looks right and stays put, focus on three things: the right high-temp adhesive, a controlled center-out bonding method, and careful cutouts with patient trimming. Let it cure, reinstall in the proper order, and replace tired clips so your interior goes back together tight and quiet.
If you?re ready to keep improving your cabin, explore more DIY interior restoration and upgrade guides on carinteriormix.com.